How to See the Northern Lights in Canada
Seeing the Northern Lights, or Aurora Borealis, is a bucket-list experience for many travelers, and Canada is one of the best places in the world to witness this natural wonder. Here’s a guide on how to make the most of your Northern Lights adventure in Canada.
1. Choose the Right Location
Canada boasts several prime locations to see the Northern Lights. Here are a few top spots:
- Yellowknife, Northwest Territories: Known as the “Aurora Capital of North America,” Yellowknife offers some of the clearest skies and the highest chances of sightings. The lights can often be seen from mid-November to early April.
- Whitehorse, Yukon: This charming city offers a great combination of urban comfort and wilderness adventure. The best viewing months are from December to March.
- Banff and Jasper National Parks, Alberta: Both parks provide stunning natural backdrops for the Northern Lights. The viewing season is typically from September to April, with October and March being particularly popular.
- Churchill, Manitoba: Known for its polar bears, Churchill is also a fantastic place to see the lights, especially from late January to February.
2. Timing is Everything
To maximize your chances of seeing the Northern Lights, consider the following:
- Season: The best time to view the Northern Lights in Canada is from late September to early April. The peak viewing months are typically between December and March.
- Time of Day: The lights are most visible after dark, with peak activity often occurring between 10 PM and 2 AM. Be prepared for late nights to catch the show!
- Weather Conditions: Clear skies are essential for a good view, so check local weather forecasts. Avoiding nights with a full moon can also enhance visibility.
3. Find a Dark Spot
Light pollution can significantly hinder your ability to see the Northern Lights, so finding a dark location away from city lights is crucial. Look for:
- National Parks and Remote Areas: These locations often provide darker skies and stunning natural backdrops.
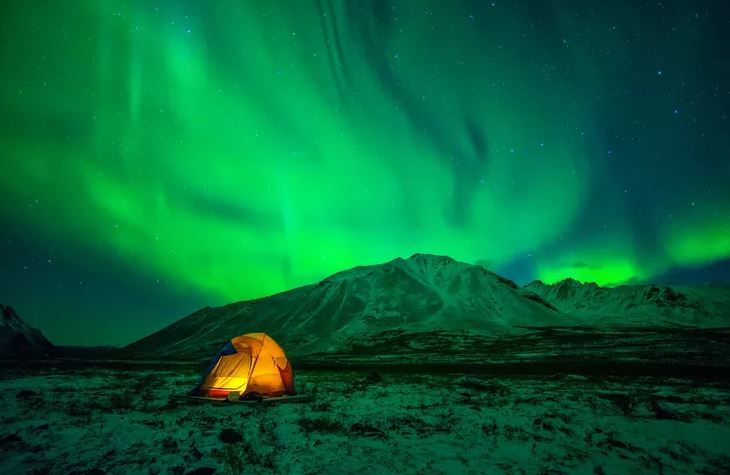
- Guided Tours: Many tour operators offer excursions to optimal viewing spots, complete with transportation and sometimes even camping equipment for a cozy night under the stars.
4. Stay Informed
Keep an eye on aurora forecasts and solar activity. Websites and apps provide real-time updates on aurora activity levels, helping you plan your viewing:
- NOAA Space Weather: The National Oceanic and Atmospheric Administration provides aurora forecasts and alerts.
- Aurora Apps: Several apps, such as “My Aurora Forecast,” can send you notifications when auroras are likely to occur in your area.
5. Capture the Moment
If you want to photograph the Northern Lights, be prepared with the right equipment:
- Camera: A DSLR or mirrorless camera with manual settings is ideal for capturing the lights.
- Tripod: A sturdy tripod is essential for long exposure shots.
- Settings: Use a wide aperture (f/2.8 or lower), a high ISO (800-3200), and long exposure times (10-30 seconds) to capture the beauty of the auroras.
6. Dress Appropriately
Canada’s winter nights can be extremely cold, so dressing warmly is crucial. Layer your clothing and include thermal undergarments, insulated jackets, gloves, and hats to keep cozy while waiting for the lights.
Conclusion
Seeing the Northern Lights in Canada is a magical experience that can create lasting memories. By choosing the right location, timing your visit, finding a dark spot, and staying informed, you’ll increase your chances of witnessing this breathtaking phenomenon. So grab your warmest clothes, a camera, and a sense of adventure, and prepare for an unforgettable night under the dancing skies!